

Scheduling Posts
Set a publish date and time for your post. Use Ordinal's recommended times for each platform or pick a custom slot.
Scheduling determines when your content goes live. Set a specific date and time, and Ordinal handles publishing automatically - posts go out within seconds of their scheduled time.
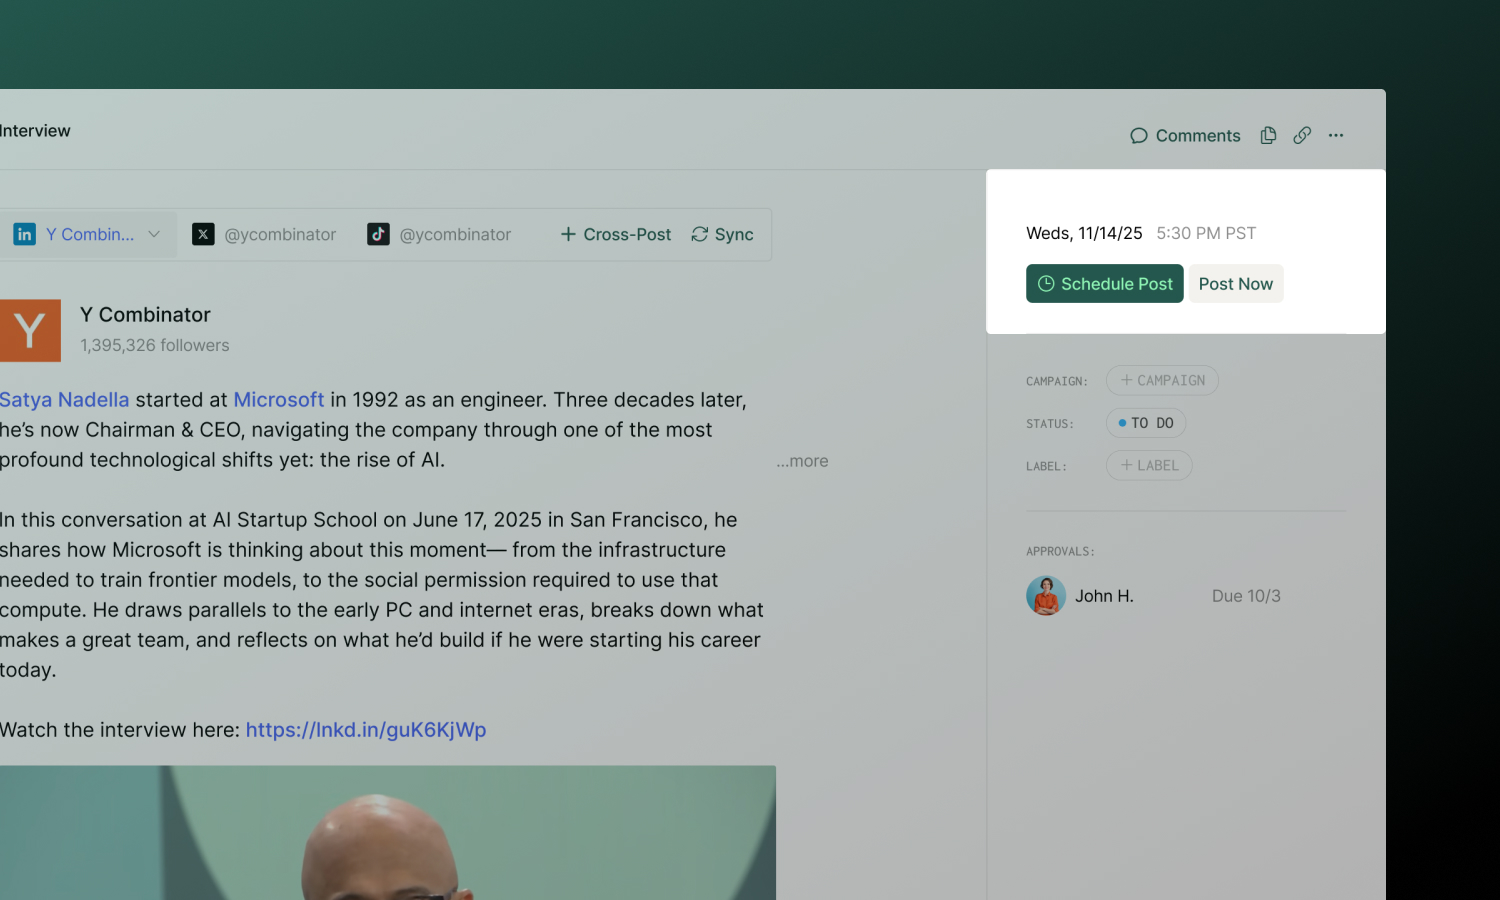
Scheduling a post
- Open or create a post
- In the sidebar, click Schedule Post
- Select your date and time
- Confirm the timezone matches your workspace settings
Recommended times
When you pick a time, Ordinal suggests optimal posting windows based on the platform and day of the week. Look for the Recommended section in the time picker.
How it works:
- Ordinal uses platform-specific optimal time slots (e.g., Twitter performs well 9am–1pm on Mondays)
- Times are randomized within the optimal window to avoid posting at the exact same time as others
- If another post is already scheduled within 20 minutes of a suggested time, Ordinal finds the next available slot
You’ll also see Recently Used times - your most recent publish times for quick selection.
Schedule vs Post Now
Choose a specific future date and time. The post:
- Moves to “Scheduled” status
- Appears on the calendar
- Publishes automatically when the time arrives
- Can be edited until publishing begins
Publish immediately without scheduling. Useful for timely content or when you’ve finished drafting and want it out right away.
Rescheduling
To change when a scheduled post publishes:
- Open the post
- Click the Edit Scheduling button in the sidebar
- Click the Edit Scheduling from the dropdown menu
- Select a new date and time
You can also drag posts directly on the calendar to reschedule the date. To reschedule the time follow the steps above.
Unscheduling
To unschedule a post:
- Open the post
- Click the Edit Scheduling button in the sidebar
- Click the Unschedule button from the dropdown menu
- The post returns to “Finalized” status
Cross-post scheduling
When a post targets multiple platforms, each channel is scheduled and published independently.
How it works
- In the schedule modal, you can choose which connected accounts to include. Uncheck any channels you don’t want to publish yet.
- All channels share the same scheduled time by default. If you need to schedule a different time for another channel, we recommend creating a separate post for that channel specifically (to save time, can use the Duplicate functionality).
CSV bulk scheduling
Upload a CSV file to create and schedule many posts at once. Find this at Settings → Bulk Scheduling.
CSV format
| Column | Required | Description |
|---|---|---|
channel |
Yes | Twitter or LinkedIn |
username |
Yes | Account username (no @ for Twitter, vanity name for LinkedIn) |
publish_at |
Yes | ISO 8601 format: 2024-12-25T14:30:00 |
copy |
Yes | Post content |
first_comment_copy |
No | First comment (where supported) |
Example CSV
channel,username,publish_at,copy,first_comment_copy
LinkedIn,johndoe,2024-12-01T09:00:00,"Excited to share our Q4 results...",
Twitter,johndoe,2024-12-01T09:30:00,"Big news coming! 🚀",
A Google Sheets template is available for reference.
Timezone handling
Times display in your computer’s local timezone. Hover over any scheduled time to see the conversion to your workspace timezone.
Your workspace timezone is configured in Settings → General. This is the timezone used for:
- Recommended time calculations
- Team coordination (so everyone knows when posts go live in the workspace’s primary timezone)
Troubleshooting
Post failed to publish
Open the post to see error details. Common causes:
- Expired account authorization (reconnect in Settings)
- Platform outage (retry later)
- Content policy violation (review and edit)
New cross-post channel not scheduled
Channels added after scheduling aren’t automatically included. Open the post and click Edit scheduling to add them.